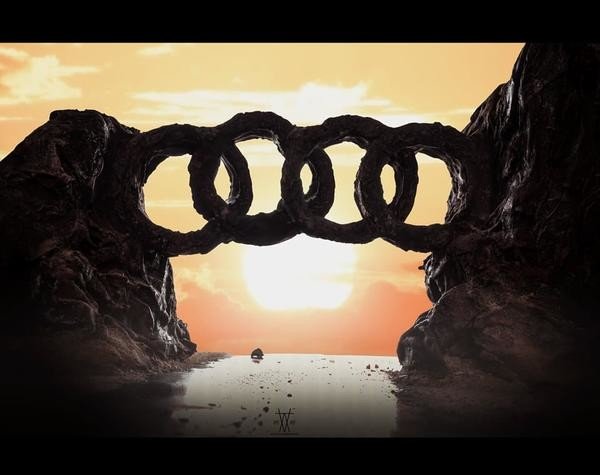
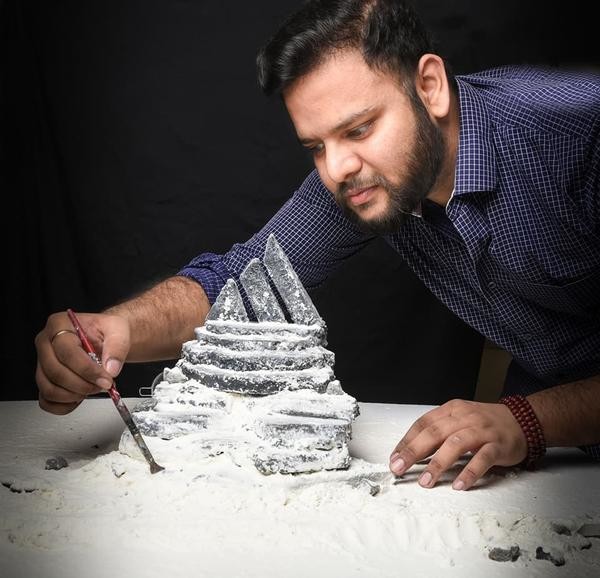
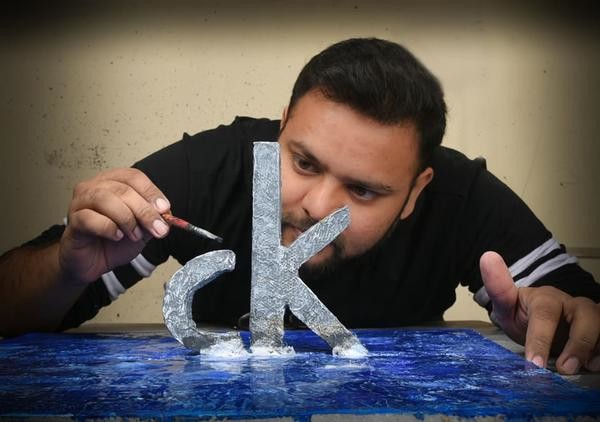
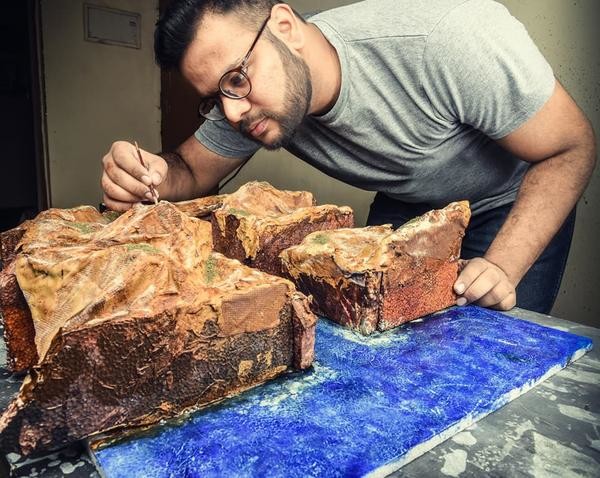
“Taking a photo isn’t that boring as you think it would be. Vatsal Kataria, a photographer, combined brand logo to natural landscapes to make those pictures more interesting. Let’s see how he made it!”
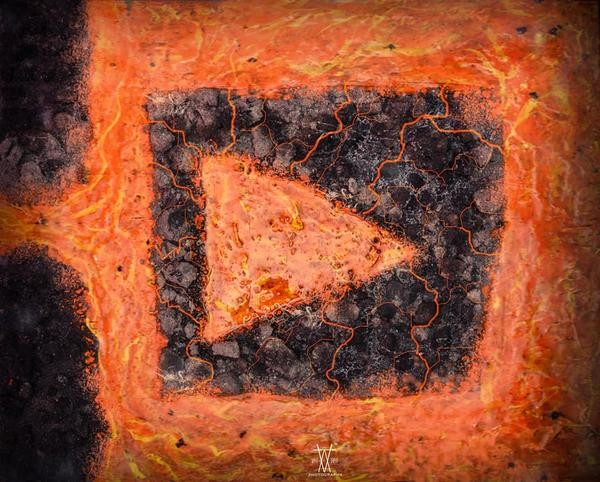
Seeing the hook in the cave, the bay is actually the symbol of Facebook, the magma finally flows into a youtube logo…? Do you think these are really coincidences of natural landscapes or a masterpiece of natural beauty?
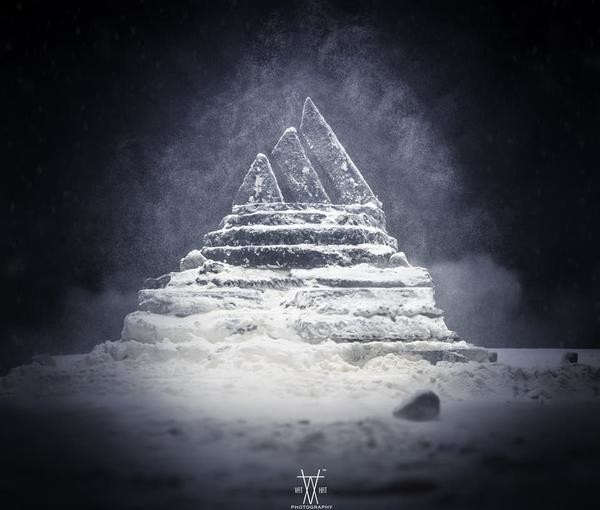
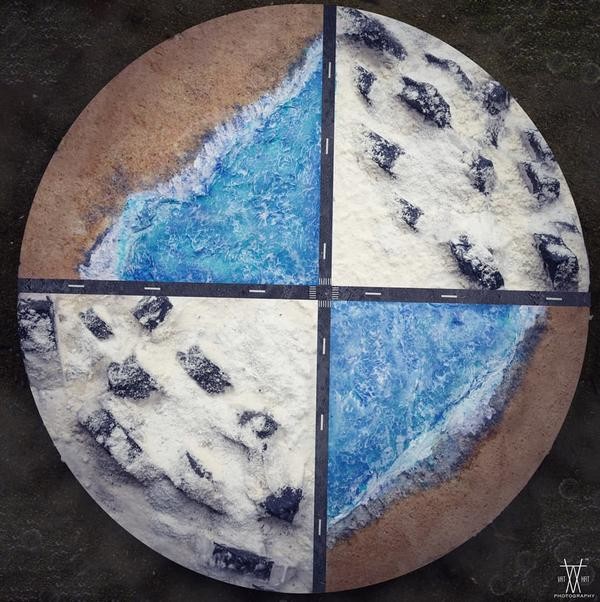
Vatsal Kataria applied his skills into photography and made those clever pictures, retouching technology to Facebook, YouTube, Audi, Adidas, Nike … the logo are all integrated into the scenery of nature, but also generous public behind the scenes footage, here to see More.
If you are interested in our articles, you can also LIKE our page:)
Want to see more related articles? CLICK ME to enter the Chinese version website.
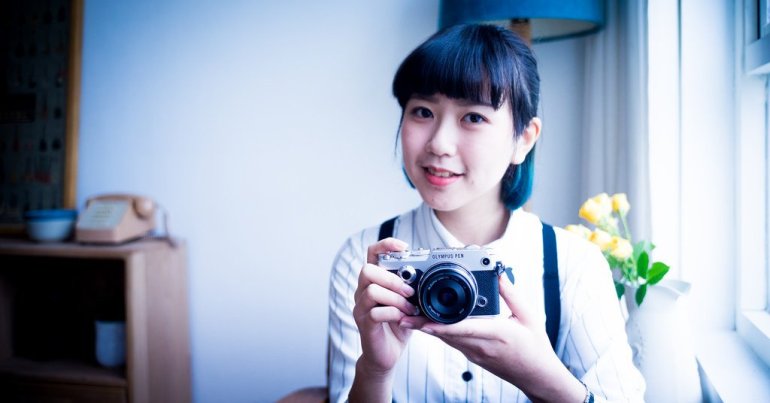
“If you’re someone that like to have pictures ‘taken of’, or someone that likes to do portrait photography, then you must not miss this pose masterlist. This article organises a few tips used by professional models during photoshoots, and summarises six main points for everyone’s convenience.”
No one wants to see themselves looking dorky and bulgy in photos, but unfortunately, most people have no idea what to do in front of a camera. Below I have organised tips that will immediately allow you to improve on such “awkward scenarios” as soon as you understand them. Spare some five minutes, and say goodbye forever to ugly pictures!
1. Get used to cameras
In this day and age where everyone has a camera on hand, it’s no longer possible to say stuff such as “I don’t want to be in the pictures” or “I am not used to taking pictures”.
Point 1. Conquering your fear of cameras is something that need only be done once in a lifetime. Once you’ve overcome it, you will never be afraid again. In an era where everyone has a camera, this is a must.
Point 2. The key to overcoming the fear of cameras and making a breakthrough is: find “the face (the most attractive angle/expression)” for you when taking pictures of yourself through mirrors or selfies and use that same face for every other picture you will be taking from now on
Point 3. If your smile is unattractive, then don’t smile in pictures. No one said you have to show your gum when taking pictures, just do whatever that makes you happy
Point 4. Don’t clench your jaw because of anxiety! Jaw clenching will make your face look shorter and rounder
Point 5. If your hair covers too much of your face, you can try using an appropriate amount of hair to “shrink your face”, though covering too much of your face will make the picture look funny
Point 6. Try placing your hand beside your face if you feel too nervous, and imagine it is your hands everybody is looking at, then say goodbye to nervousness! (Though if your hands look like a fish cake, it probably will make you feel even more nervous than before)
Point 7. Go to your happy place when taking pictures, the details of your face will be altered just so slightly that you will look better in pictures
2. Try out different side angles
Taking pictures without turning to your side even a little bit will make you look “intense and vigorous” when shooting from up front, it will only leave two kinds of impressions: very dense or very angry.
Side angles include “twisting the whole body (with the shoulders as reference)” and “twisting just the head”. These are generally completely separated topics during discussions. However most of the time, side angles means turning around 45 degrees, simple.
Below is a list of examples of the suitable head angles for different subjects after assuming a side angle of 45 degrees clockwise. The head angle is set at 0 when the front of the face is in line with the front of the shoulders.
Female soft and beautiful: head turned 0 degrees
Female individualistic and enigmatic: head turned 15 degrees, chin slightly raised
Female confident: head turned 45 degrees counter-clockwise
Male confident: head turned 60 degrees counter-clockwise, chin slightly lowered
An additional note is that usually, a raised head will emit tension and aggression, while a lowered head will give a softer and easier feeling.
3. A person that doesn’t know where to place their hands will never take a good picture.
Models often only care about whether their face is beautiful or not, but a thing that is actually more important is the placement of the hands.
Point 1. The most difficult part is that you must understand where “the hands” need to be placed. Practice, face the mirror and practice, find your hand placement first, this way you won’t be at a loss when facing your photographer
Point 2. Hand poses can completely change the effect of a photo, whether you want a soft and gentle effect or a strong and fashionable look, the hand placements must be met with special attention. Even if you think a pose may feel “unnatural”, it may often be in spite of that the “most natural look in the final photo”.
Point 3. Modelling photos where the model looks relaxed are often shot while the model is exerting a lot of effort. Aside from rehearsing beforehand, you must check with your photographer on the scene and decide whether or not your poses are suitable
The rock, paper, scissors hand poses phrase provides a solution to the challenge of not being able to think of hand poses. It’s more effective to show than tell, please look at the demonstration video by Kashiwagi Yuki shown below!
5. Full body shots tip: Place the centre of gravity on one leg, and control the other leg to change the mood
After preparing the face and hands as mentioned previously, what is left of the full body shot is just the bottom half of the body.
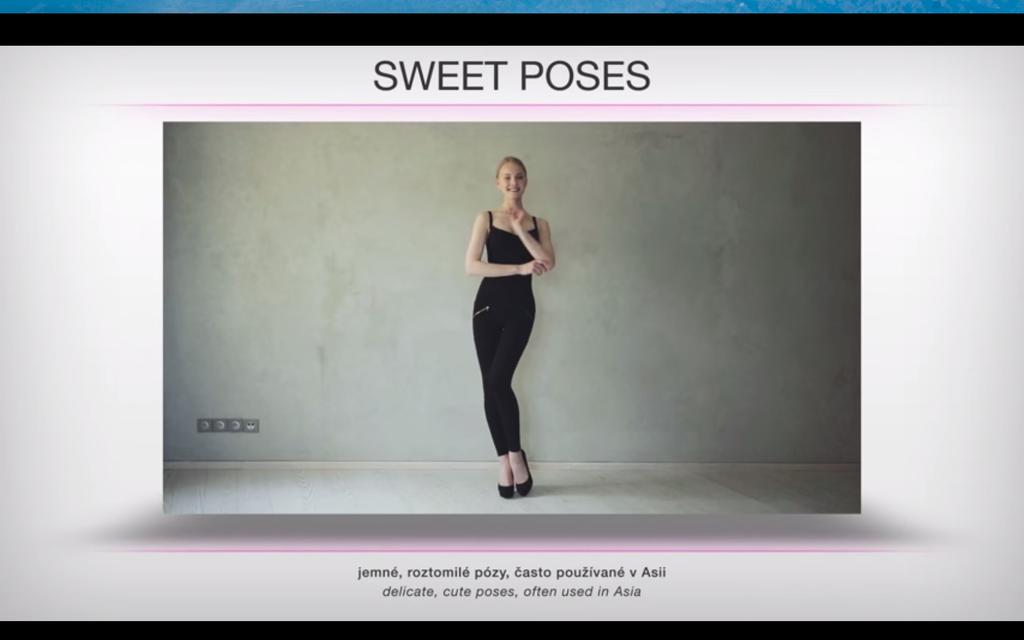
“Leg poses” are peculiar, there isn’t much to be said about it, but it can’t be just glossed over. Combinations include a mix of touching or separating the knees and touching or separating the ankles, for example:
Ankles touching + knees together gives a sweet and delicate feeling.
Feet pointing outwards + knees separated exudes a sense of confidence.
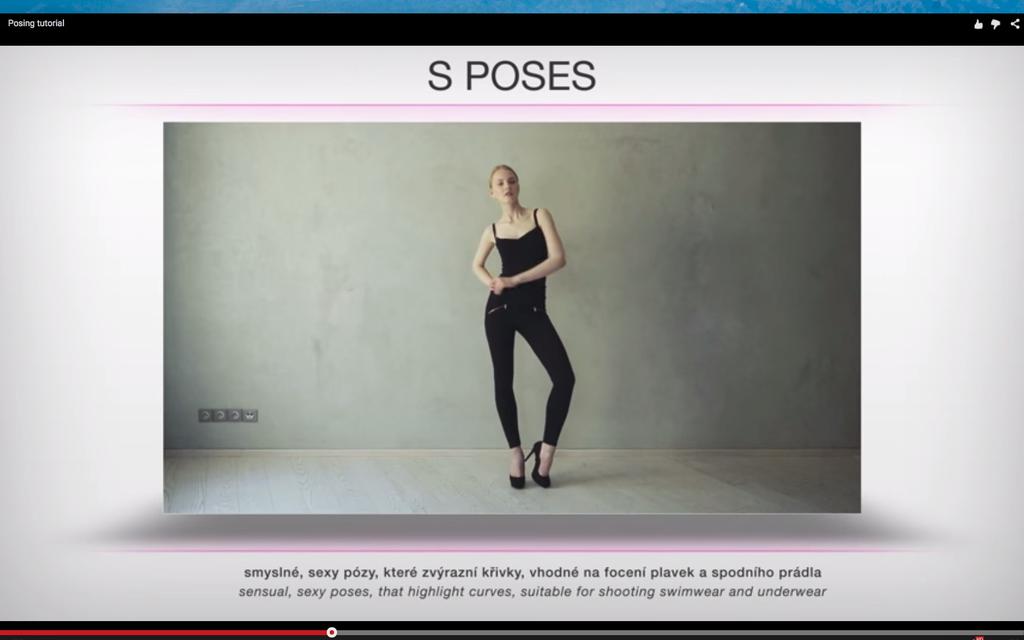
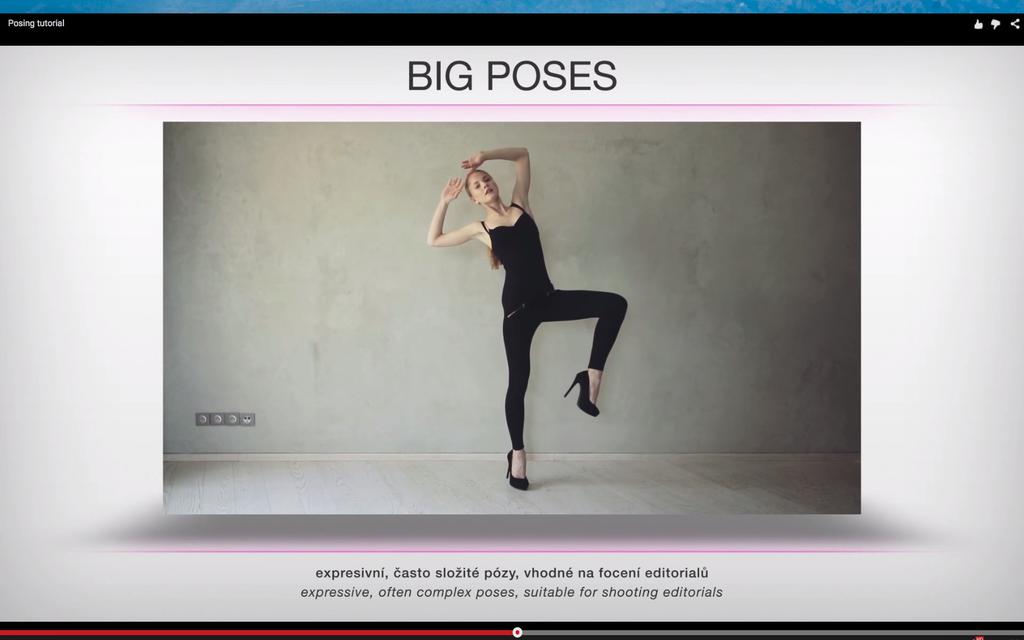
6. Everyone should have a signature Big Pose
If you want to capture the feeling of a fashion magazine in your shots, memorise the following two Big Poses and save them as your ultimate moves!
Most people are probably not familiar with those and cannot really handle a Big Pose, especially when shooting outside, it must be rather embarrassing. But the effect of Big Poses are truly amazing, so you must try them out when you’ve got the chance!
If you are interested in our articles, you can also LIKE our page:)
Want to see more related articles? CLICK ME to enter the Chinese version website.
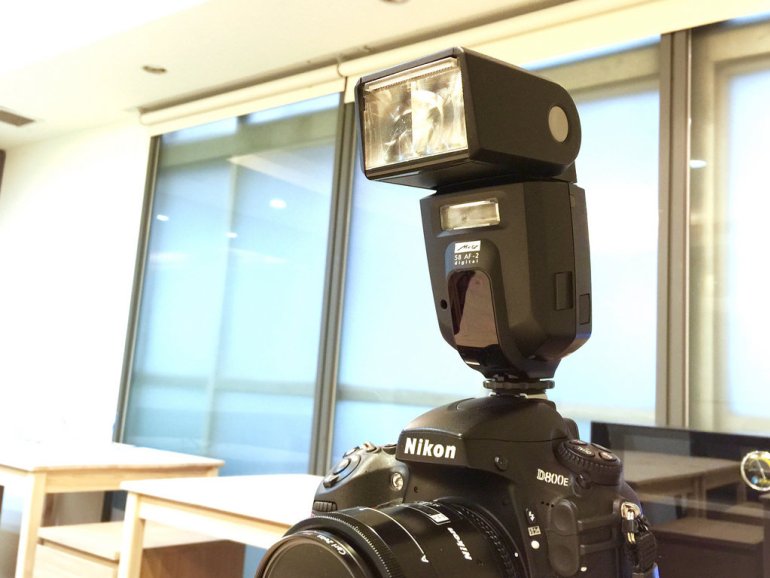
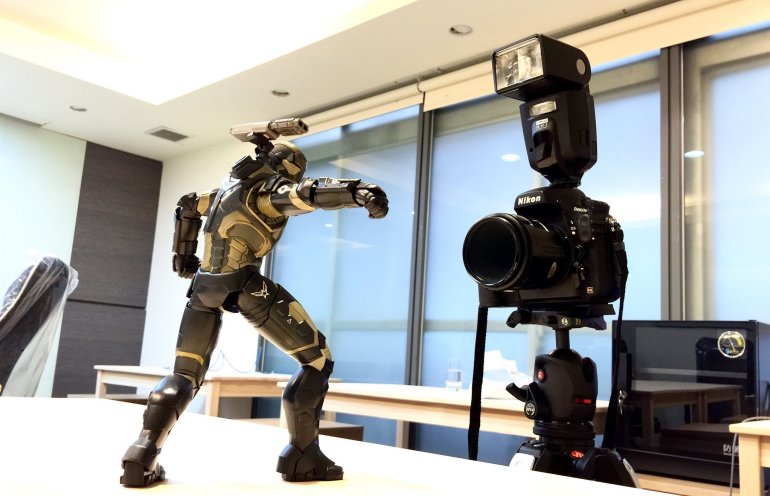
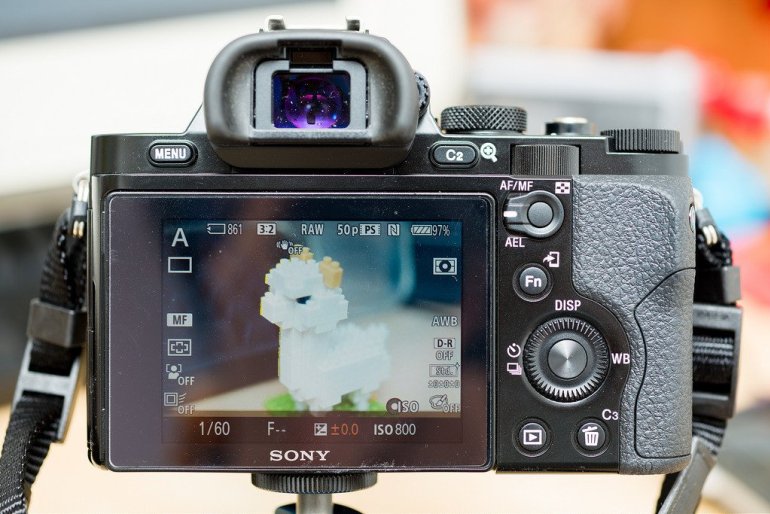
“It’s quite possible for many beginner photographers to be more inexperienced in the operation and application of Speedlights. Often, they find themselves unable to produce shots of adequate quality. Though in actuality, no matter it is daytime or nighttime, if one can effectively utilize a Speedlight, it is possible to create all sorts of effects that can greatly change the face of one’s shots. It is not difficult at all to learn how to use Speedlights, and in this article, my three main thoughts on operating Speedlights will be introduced for you to start building your skills from a solid foundation.”
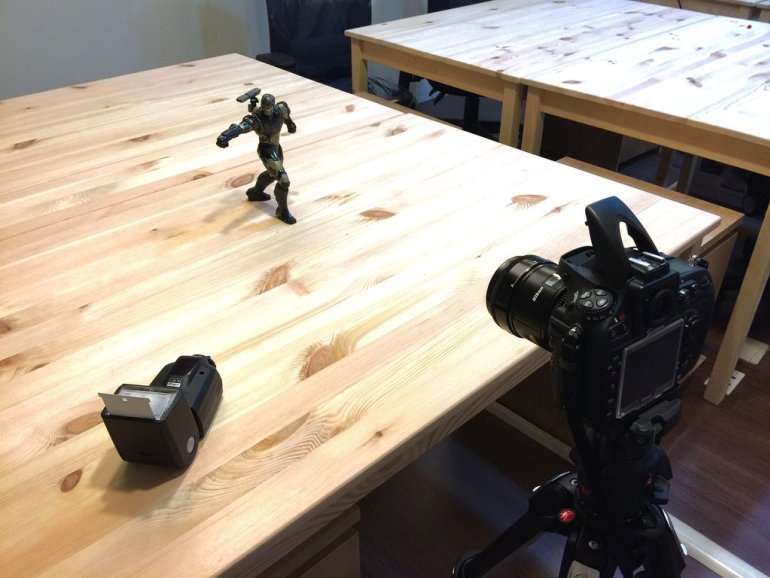
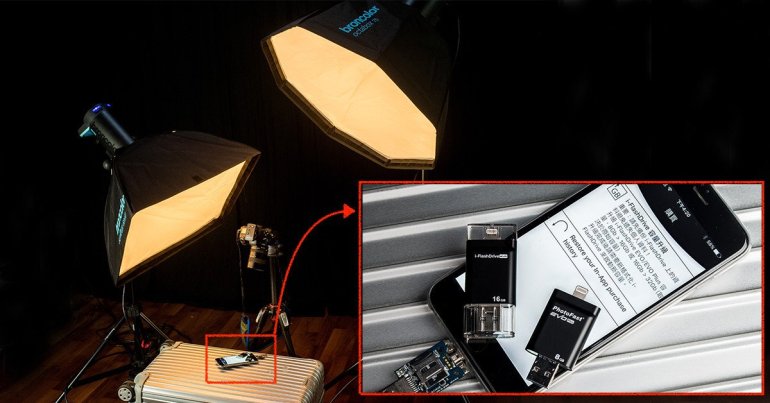
“In an era when everyone is inseparable from the Internet, e-commerce can be said to be more and more developed, and the accompanying demand for commercial shooting pictures has also grown. Friends, who love photography, have you ever had experience of commercial shooting? How to produce a beautiful photo for jewels, 3C products, and other small objects? Take a look at the content of this article. There are many practical experiences to share! ”
“Greetings newcomers, speedlights are generally speaking one of the more difficult devices to get your hands on for beginner photographers. Perhaps, you’ve been considering getting one? There is no rush, before making purchases for new equipments one mustn’t forget to do some research. Check out the contents of this article, I believe that it will be of great assistance to you.”
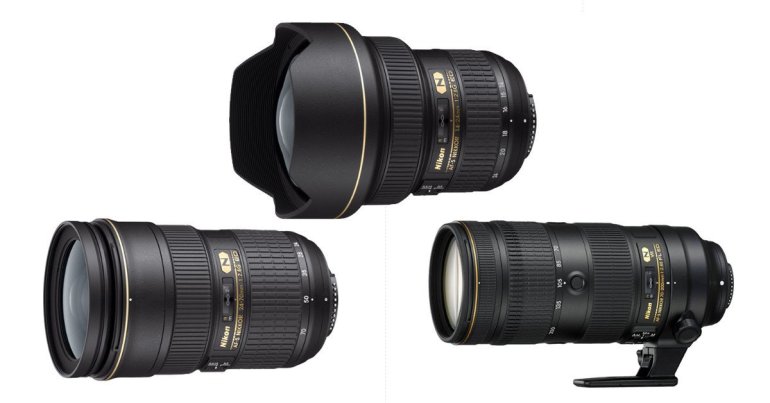
“Ever wonder what the experts and veterans on forums are referring to when they mention the Three Big Dragons and Three Little Dragons of camera lenses? And why are these lenses universally sought after by photographers? In this article, we will give readers an introduction regarding the Big Threes and Little Threes of cameras, the differences in their characteristics and application in hopes to provide beginners with a bit of clarity.”
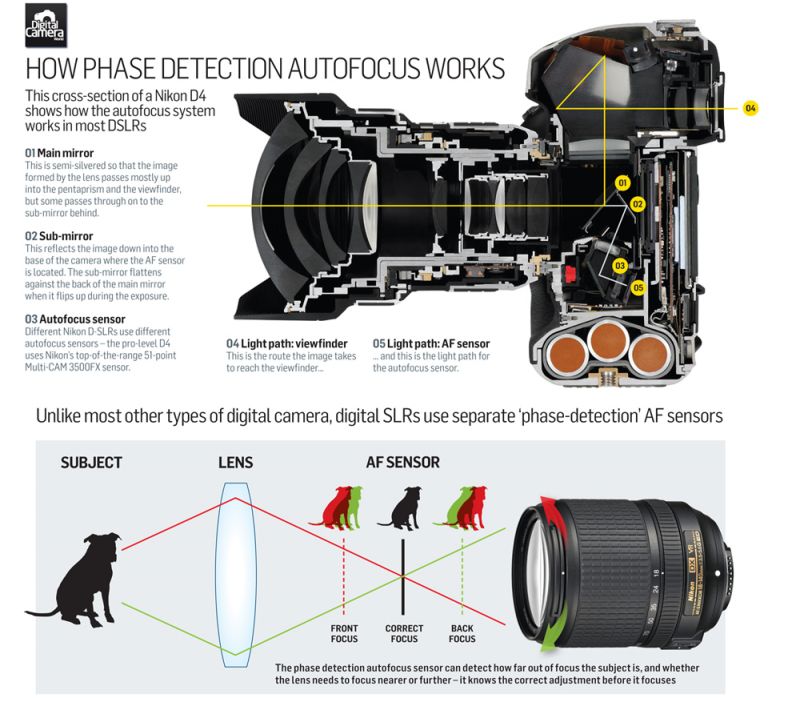
“Focusing is one of the most important function of a camera. Speed and accuracy of focus is also a factor to consider when purchasing a camera. This article will use a side view of Nikon D4 to observe how DSLR camera’s autofocus function works, and what are the methods to autofocus. ”
“Although the small camera memory card is inexpensive, it’s a very important part of camera, the most feared that memory card is damaged in halfway of use. This article shares Canon’s official memory card basic introduction video, which allows photographers to use the concept of a memory card and use it more correctly. “
“It is said that the inner side between boys and girls is very different, even the motivation behind the purchase of a camera may be a very big difference. This article particularly shares the points where girls choose for a camera, whether you emphasise on appearance or internal tech. You can follow this article to find out which camera models have a nice appearance and good lens~”
“‘The addition and subtraction of EV values’ is a term that photography beginners often heard. EV value is also exposure value, which direct affect the exposure and darkness of the photo, which is what people often say “you photo is over-exposed” , “your photo is too dark”. This article will explain how to add or subtract the EV value, differences, and how to adjust the exposure in PSAM modes? “